I was looking for free storage solution to create shared
storage for my lab Windows Server 2012 cluster. After few Google, I found and
choose to use Windows Server 2012 iSCSI target features. Microsoft started
iSCSI target feature as a downloadable software: Microsoft iSCSI Software
Target 3.3 for Windows Server 2008 R2. Refer to the following URLs:
And now it’s a built-in feature in Windows Server 2012, just
need enable it as and when needed. I’m going to enable and configure Windows
Server 2012 iSCSI target in Step by step. I will not going to explain the iSCSI
details in Windows Server 2012. You can visit Microsoft Storage Team blog here
to get in depth understanding of iSCSI in general and also the new iSCSI
feature in Windows 2012:
I’ll strongly recommend to go through the above URL before
following my lab.
Let’s start:
I objective is to create shared quorum and data disk for
Windows Server 2012 cluster, which I will later use for Hyper-V role. I’ve file
and storage server named: CorpFileStorage which will be my iSCSI target server,
and have 2 going to be failover cluster node server named: CORPHyperV1 and
CORPHyperV2. IP address and IQN number of these servers for this demonstration
are:
CorpFileStorage: Data LAN IP: 172.16.1.2, iSCSI LAN:
192.168.10.1
CorpHyperV1: Data LAN IP: 172.16.1.3, ISCSI LAN:
192.168.10.2, iqn.1991-05.com.microsoft:corpHyperV1.corp.local
CorpHyperV1: Data LAN IP: 172.16.1.4, ISCSI LAN:
192.168.10.3, iqn.1991-05.com.microsoft:corpHyperV2.corp.local
Note that, in the above VMs of my Windows 8 Hyper-V, if I
created separated NIC for data and iSCSI communication. It is always
recommended and best practice to separate both data and iSCSI in production.
We can add iSCSI feature and configure it both in GUI and
through PowerShell. I’m going to cover the both.
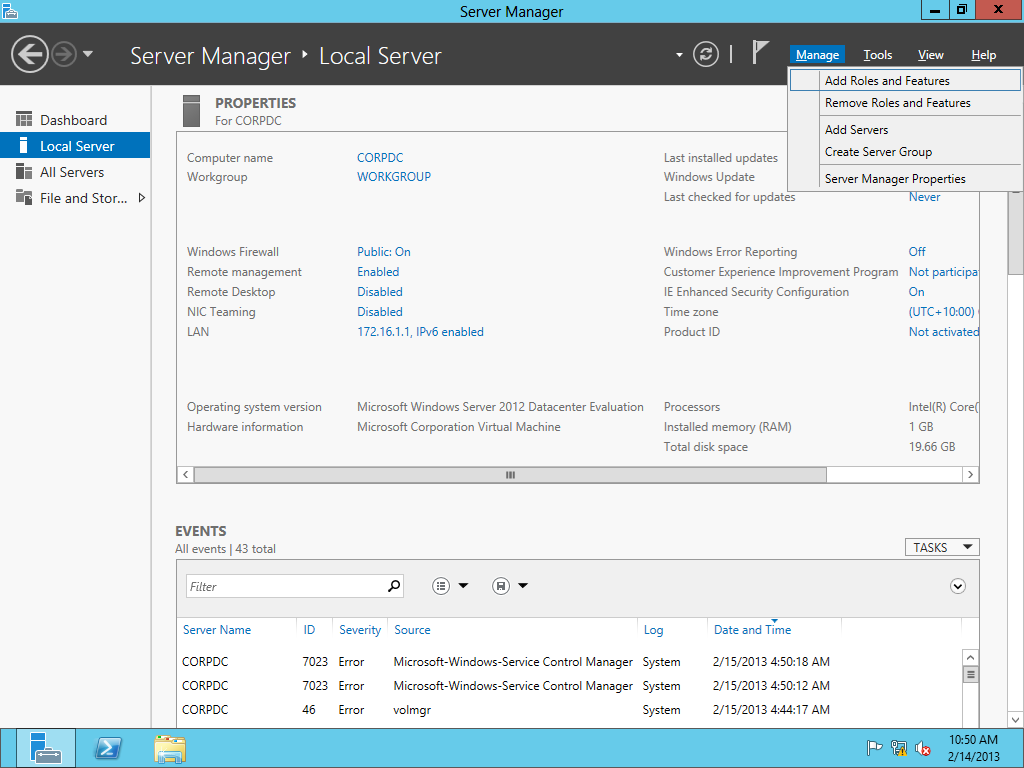
Log on the server on which we are going to enable iSCSI
target and open Server Manager
Click Manage and then
click Add Roles and Features
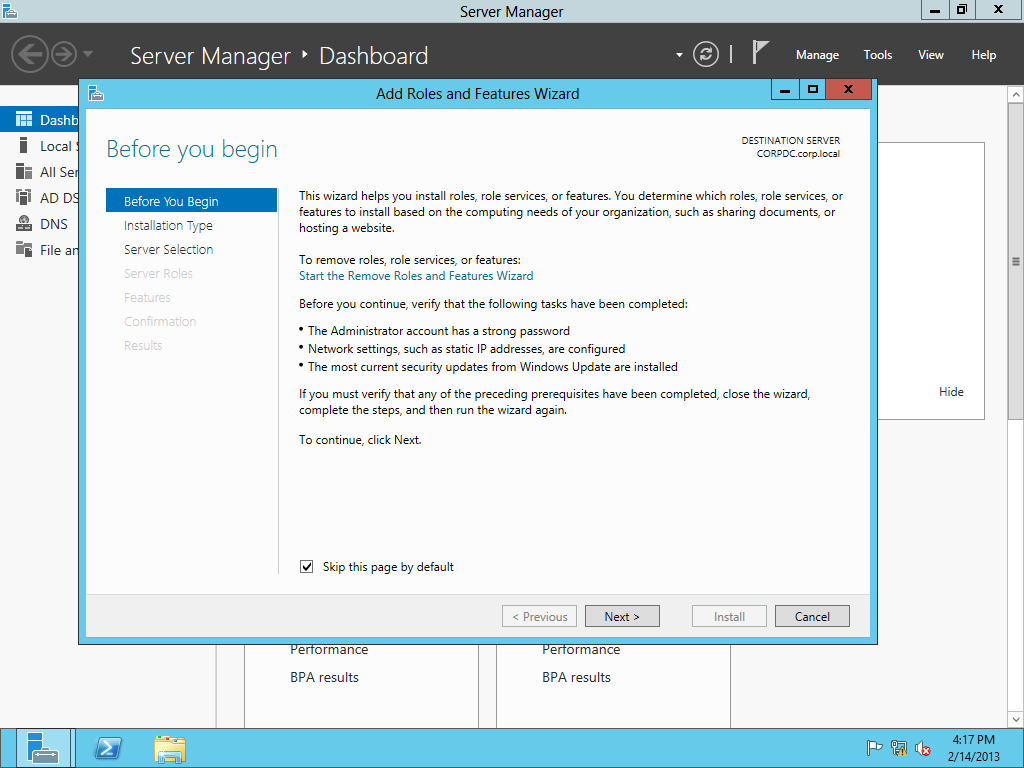
On the Before you begin page click Next
Keep the Role-based
and featured-based option selected and click Next
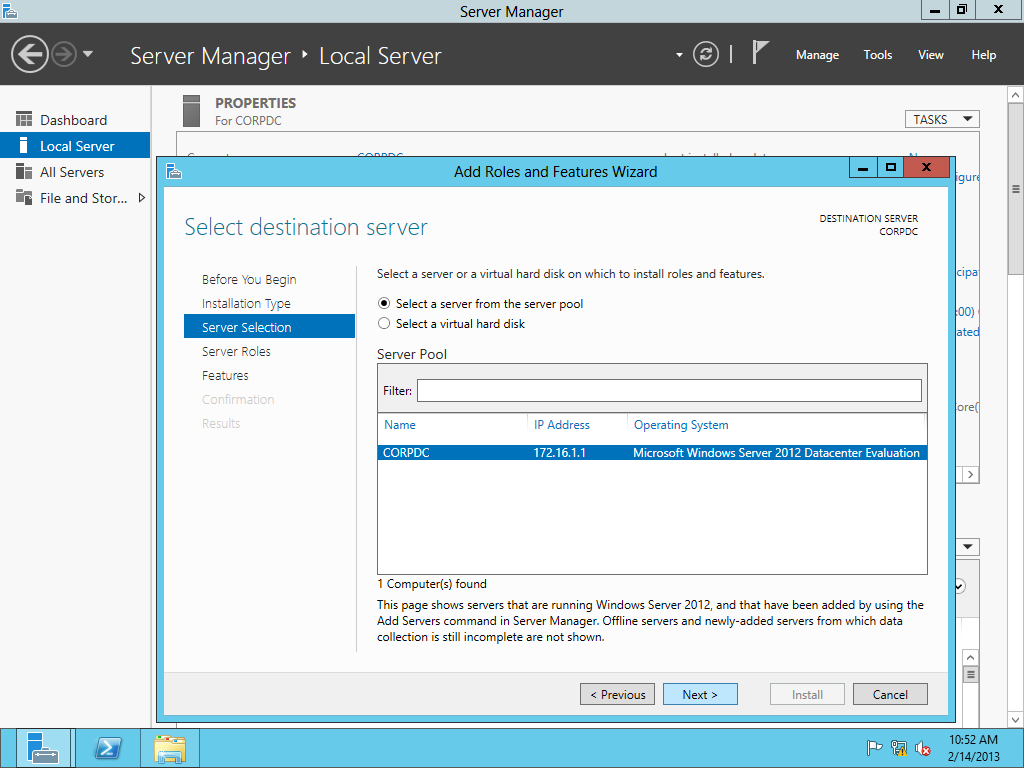
Select specific server and click
Next
Scroll down and expand File
and Storage Services, then expand File
and iSCSI Services and select iSCSI
Target Server
It will bring the window to add other services required by
iSCSI target. Confirm File Server feature
is selected under the File and iSCSI
Services and also Include Management
Tool (if applicable) is selected. Then click Add Features
Click Next
On the Select
Features page, click Next
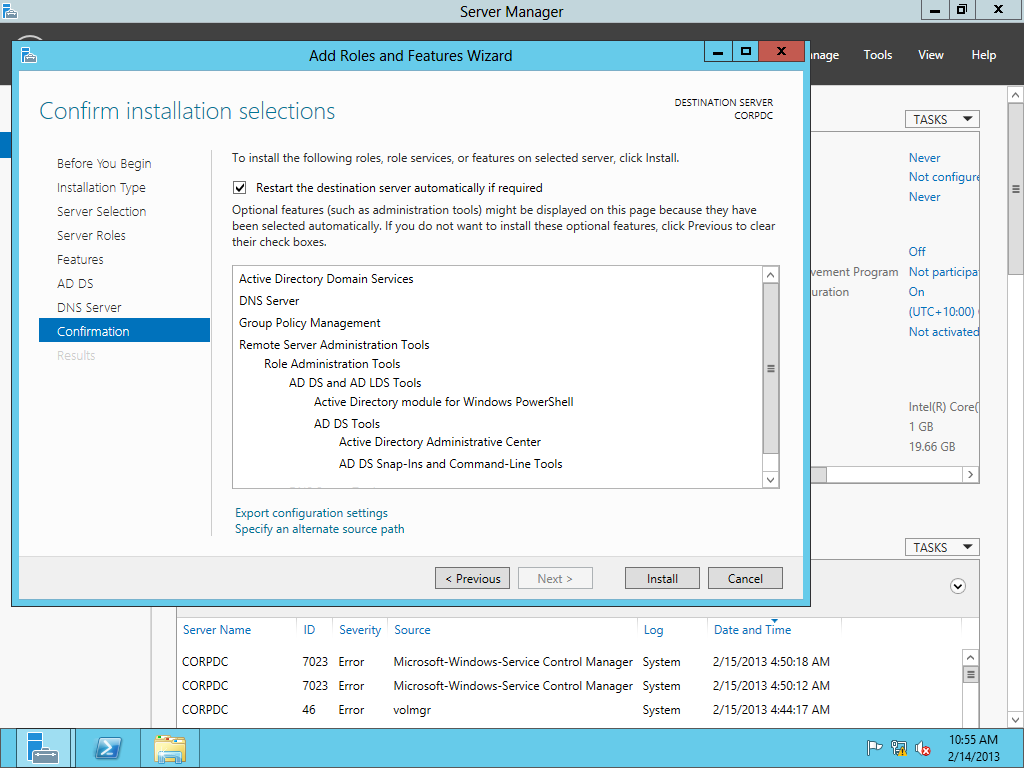
On the Confirm
installation selection page review
and confirm the selection also select the Restart
the destination server automatically if required. Then click Install
For this demonstration, I’ve cancelled the wizard and
instead I’m going to add the same feature using PowerShell:
Open PowerShell in privilege mode:
Type: Add-WindowsFeature FS-iSCSITarget-Server
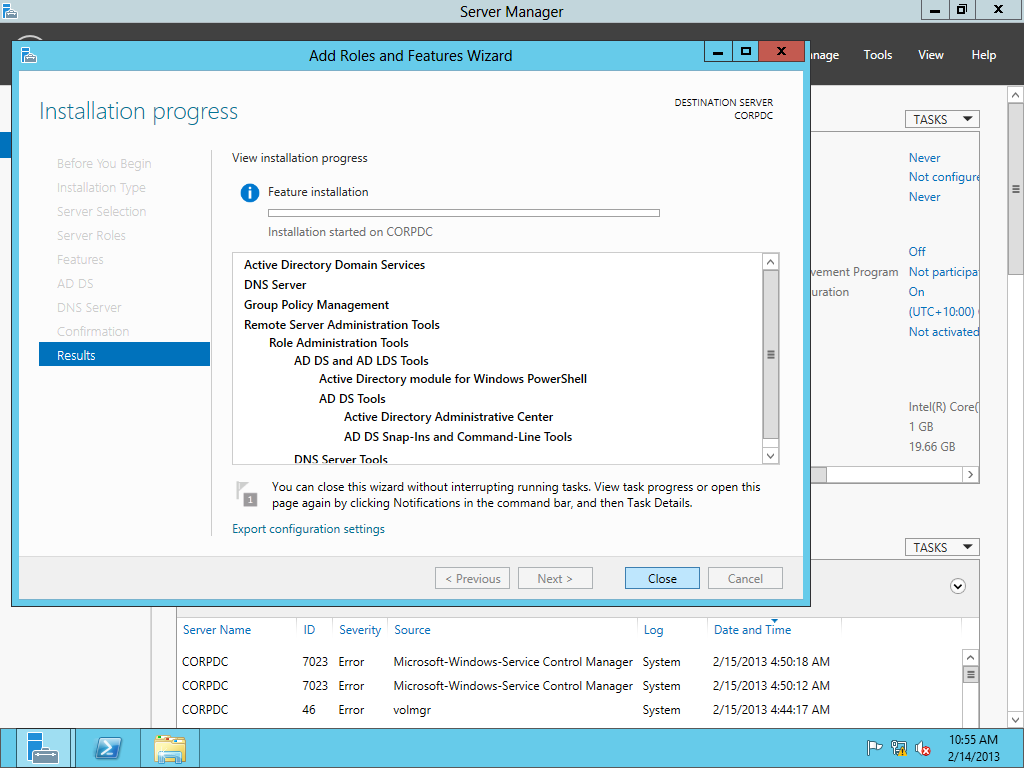
It will start the
iSCSI target feature installation
Once completed, it
will show the result
To confirm the
installation, type: Get-WindowFeature
FS*
Now we are in the steps, to create and assign iSCSI
LUN/iSCSI virtual disk to iSCSI initiator.
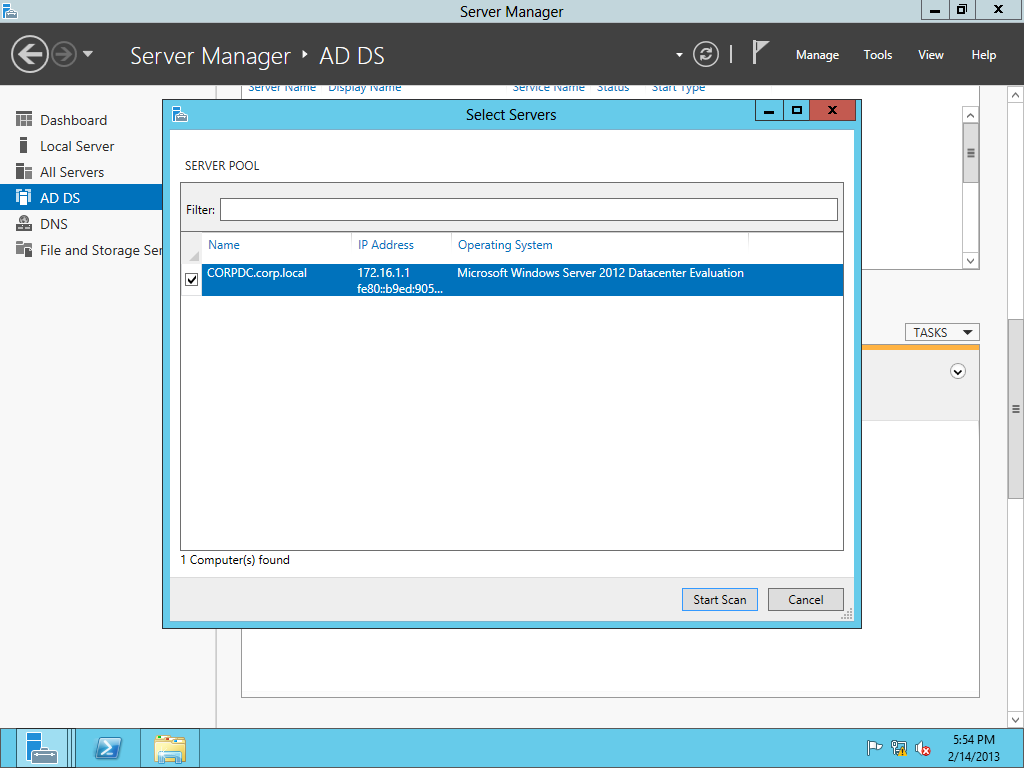
Open Server Manager,
go to File and Storage Services the iSCSI page. Click To create an iSCSI virtual disk, start the New iSCSI Virtual Disk
Wizard
On the Select iSCSI
virtual disk location page, we need to specify the location of the iSCSI
virtual disk, which is basically a VHD file. There are 2 options to specify the
locations: either based on the volume or specify the custom location. In the
case of volume, we have to select the volume, e.g: C:,D: and iSCSI will create
a folder under the root volume named \iSCSIVirtualDisk and stores the VHD files
there. Click Next
Specify iSCSI Virtual Disk name. For my lab, I’m going to
create a virtual disk named HyperVClusterQuorum.vhd under C:\ iSCSIVirtualDisk.
Click Next
Specify the size and click Next
On the next page, we have the option to assign this virtual
disk to existing iSCSI target or create a new target on the fly for this
virtual disk. Since, I don’t have any previous target created, so I’ve selected
New iSCSI Target and click Next
Give a name for the iSCSI Target and click Next
Now on the Specify
the access servers page, we need to add the iSCSI Initiators, those will
have rights to access this target and virtual disks. Click Add
It will open the Add Initiator
ID page. Here we can add iSCSI initiator based on the Active Directory
membership, IQN, DNS, IP (both IPv4 and IPv6) and MAC addresses. Since I’ve
both initiator joined to AD, I added one of them based by querying the AD and
another one by specifying the IQN
On the next Enable
Authentication page, click Next
On the View Result page, click create
Once completed, click close
Now we’ve the iSCSI virtual disk created and added to a
target. Also we have added 2 nodes/initiators to access the target and virtual
disk.
Log on to the
initiator server, which will access iSCSI virtual disk from iSCSI target. Open Server Manager
Click Tools, then
click iSCSI initiator
By default, Microsoft
iSCSI Initiator (msiscsi) windows service is set to manual for start-up and
stopped. When we click iSCSI initiator
from the Tools menu, it will prompt
us whether we want the service start now and also if we want to service auto
start every times windows start. Click Yes
iSCSI Initiator Properties
will appear. Click Discovery tab
and then click Discover Portal. Discover
Target Portal window will appear, enter the IP address or DNS name of the
iSCSI Target, and then click OK
On the iSCSI
initiator Properties page, click Target
tab. It will list the Discovered Target available
from the iSCSI target we have added in the discovery tab. If noting appear,
please confirm the IQN you have entered during the target setup and also
confirm that you have entered the right iSCSI target server IP or DNS name
during discover. Click Connect
Click Advanced
If we have dedicated NIC for iSCSI we have defined that on
the Advanced Settings page.
Click OK 3 times to close the iSCSI initiator setting page
Now we will find the iSCSI LUN/virtual disk presented to
this initiator as a separated disk. We need to follow almost same procedures to
configure this disk as we do for locally attached disk. Follow the screen shots
below to configure the discovered iSCSI disk: